
If you’re a budding astrophotographer, you may be wondering if you can take pictures of objects in space using a telescope.
The short answer is yes, you can, but it depends on the type of telescope you’re using.
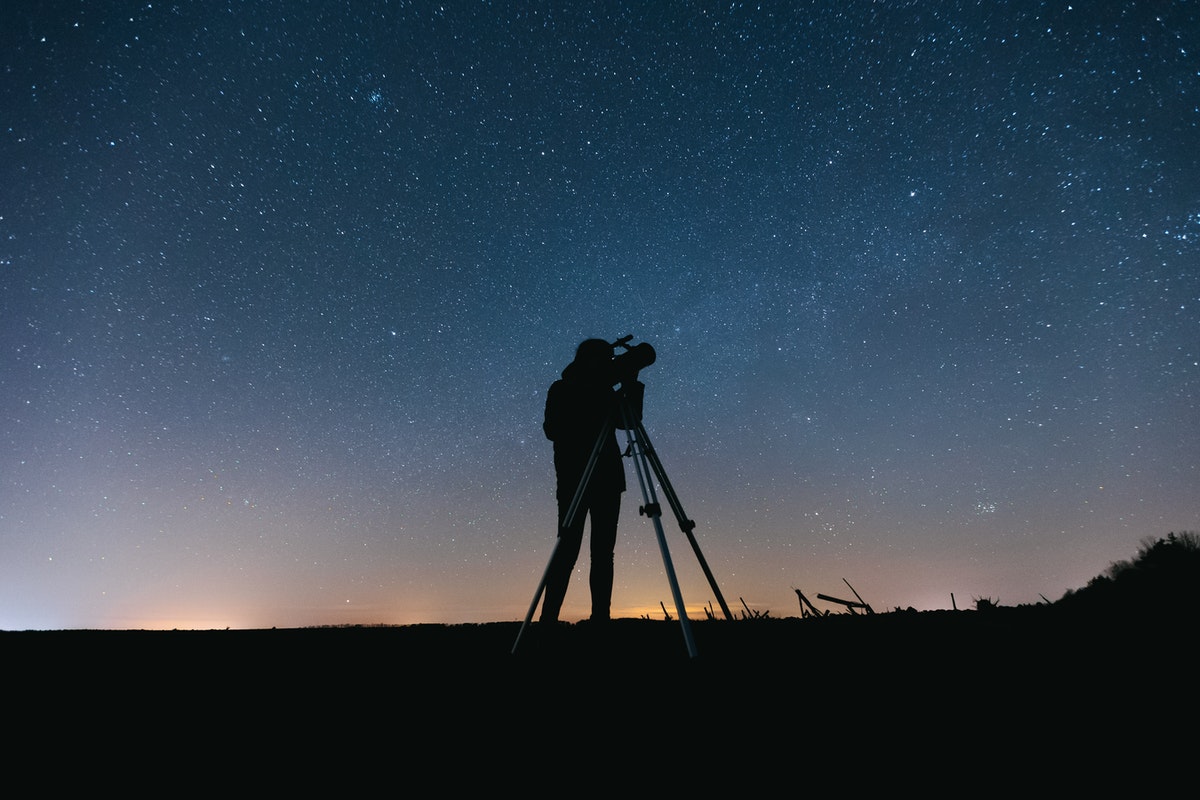
There are also many other ways to snap photos of the night sky, you can even use your smartphone!
It can be difficult to do so, especially if you are new to photography and telescopes, leaving many people overwhelmed and unsure of what to do.
Well, no more!
This article will teach you the basics of astrophotography and discuss how you can take amazing shots of space even if you’re a complete beginner.
What Are The Different Types Of Astrophotography?
Before we dive in, let’s take a look at the different types of astrophotography out there!
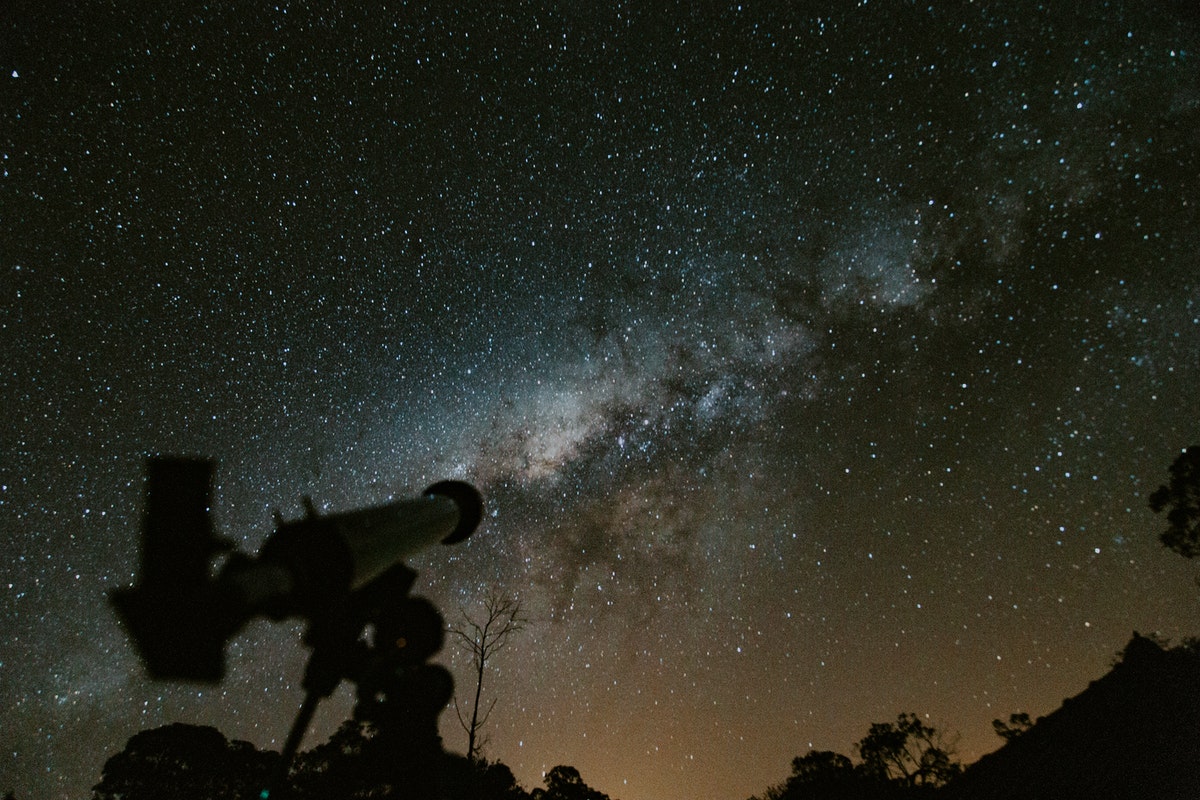
Deep Space Astrophotography
Deep space astrophotography involves capturing images of objects in the faraway reaches of our galaxy. This requires a lot of patience and skill.
A good astronomer must be able to work long hours to capture an image of something in deep space.
Sometimes, the image is captured at the same time as the object moves across the sky, making it very difficult to capture.
Astrophotographers take thousands of pictures over many nights, and sometimes months, to capture the perfect picture.
Once the image is captured, the astronomer must process it to make it look better.
Solar System Astrophotography
This type of astrophotography focuses on moons, planets, and the sun within our solar system.
Usually, these photos are taken with telescopes, however, a high-quality DSLR camera can also be used successfully.
Wide Field Astrophotography
This type of astrophotography is a little easier than the other two for beginners. Normally, you would use a DSLR camera with a wide field lens.
These images are normally of star trails and wide starry skies above landscapes.
Milky way astrophotographers often take photos in large, open environments such as deserts where there is little light pollution.
What Equipment Do You Need For Astrophotography?

Widefield astrophotography is easy if you know what you’re doing.
A DSLR camera with a fast lens and a sturdy tripod will be enough to capture great photos of the stars.
Add some accessories to your kits, like an intervalometer or a robotic mount, and you can take even better pictures.
For the other two types of astrophotography, it may be better to use a telescope to take your shots.
What Sort Of Telescope Should You Use For Astrophotography?
There are many different types of telescopes out there, but most people choose ones that are smaller than 10 inches.
These telescopes are easy to carry around, and you won’t need much space to store them.
You should also be aware of the focal length of the telescope.
A higher number means a wider field of view, and a lower number means a narrower field of view.
Aperture refers to how big the lens is. A larger number means a bigger aperture. Lastly, you should know about the auto-align feature.
This allows the telescope to automatically correct for any misalignment.
Types Of Telescope Photography
Now let’s take a look at the different types of telescope photography you can do.
Afocal Telescope Photography
Afocal photography is a cheap way to take photos through telescopes, but you’ll need a large eyepiece to get a clear picture.
Avoiding vignetting requires a large eyepiece, and a smaller eyepiece makes it harder to aim the camera.
Afocal telescopes are tricky because they require a lot of precision. You should make sure to use a tripod when using an afocal scope.
Prime Focus Telescope Photography
A prime focus system uses a ring and adapter to connect a camera to a telescope.
Prime focus systems are much easier than using a tripod, but they do require additional equipment.
The prime focus method gives a sharper focus, but it is more expensive than the afocal option.
How To Attach A Camera To A Telescope
Astrophotographers need to attach a camera to the telescope so they can take pictures of the night sky.
There are different methods of attaching a camera to a telescope.
For example, a mount allows you to move the camera around the telescope. An adapter attaches the camera directly to the telescope.
You could use a variable projection camera adapter, which allows for more magnification and includes an eyepiece to give even more magnification!
Just make sure the eye-ring hole in your scope matches up with the adapter. Not all eye rings support mounting a camera at their back.
If you are trying to take pictures of the stars, then you might want to get a camera that has a wider field of view than what you can achieve with a telescope.
A telescope made specifically for astrophotography may be more expensive than other types of telescopes.
Eyepieces can also be inserted into this device to magnify images as well.
Tips For Telescope Photography
Below we have some tips that will help you make the best photographs with your telescope.
Focal Distance
Lenses are unable to focus on objects closer than the minimum focal distance.
Smaller lenses are easier to use with telescopes and can focus on closer objects.
Macro settings make it possible to reduce focal distances further.
Manual Focusing
Use manual focus when possible to make the image sharper.
Autofocus may be used by smaller lens cameras, but larger lenses require manual focus.
Moon Motion
If your magnification is high, moon motion will be more apparent. Check out different exposure times to see which works best for your setup.
How To Plan For An Astrophotography Session
Be sure to consider the following when setting up an astrophotography session!
Light Pollution
You need to plan before heading out into the wilderness. Astronomy can be difficult if there is too much light pollution.
Head out into the country to find a place with less light pollution.
Location
Apps and services can help you find great locations.
StarWalk is a great app that helps you plan for astrophotography by showing you what time of day it is and where the planets will appear in relation to each other.
You can then use this information to create an image or video that shows the planets in motion.
Consider The Weather
Weather forecasting apps help you plan. You need to know what kind of weather to expect before you go out shooting.
Apps such as Dark Skies and Accuweather can tell you about the weather conditions and let you plan accordingly.
How To Take Great Shots Of The Night Sky
Be sure to take advantage of our following tips for taking pictures of the night sky before you leave us today.
Limit Camera Movement
A tripod is the best way to prevent camera shake. Pressing the shutter button can cause slight vibrations.
To avoid this problem, use a cable release or set the camera to take pictures after 2 seconds.
Vibration is caused by the mirror rotating up out of the way.
A camera has a mirror lock function, but the first shot is fired without locking the mirror down.
Frame Your Shots
When shooting the night sky, it is important to frame the shot by using your own eyes because it can be difficult to line an area up in the viewfinder in darkness.
You should focus on an area of sky and land that looks interesting to you.
Check Your Settings
Make sure that you know how to use your camera’s settings before attempting to photograph the night sky.
Focus carefully and set your exposure accordingly.
Don’t worry about getting it completely perfect, because you can always edit them later.
Final Thoughts
Astrophotography is extremely fun and rewarding. It takes patience and practice to master the art of taking photos of the night sky.
The process of learning how to do this involves experimenting with different equipment and techniques until you find something that works well for you.
Once you have mastered the basics, you can start exploring new ideas and techniques. Good luck!

- I Can’t See Anything Clearly Through My Telescope – Help! - April 26, 2022
- Astronomy For Beginners – Getting Started Stargazing! - April 26, 2022
- Are Telescopes Easy To Use? - April 26, 2022